

Science fairs are an important part of school life because they inspire curiosity, creativity, and independent thinking among students. A well planned science exhibit not only displays knowledge but also shows how students can connect classroom lessons with real-life situations.
When students design their own science exhibits, they learn valuable skills like observation, analysis, teamwork, and communication. It is a wonderful opportunity to turn curiosity into discovery. However, creating an exhibit that truly stands out requires clear planning, neat presentation, and a strong understanding.
In this blog, we’ll explore step-by-step methods to create impressive science exhibits, from planning the layout for a science fair board to presenting results confidently.
Start With A Strong Question And Plan
Pick a narrow question you can actually answer. Broad topics turn into messy exhibits. Use the scientific method or the engineering design process. Choose the one that fits your idea and write a short plan before you begin. Science fair sites and educators recommend breaking work into small steps: choose a topic, research, test, collect data, and prepare the display and presentation.
Quick checklist before you begin:
- Is the question specific and testable?
- Can you finish the experiments with the time and materials available?
- Will the result produce clear data or observations?
Design The Layout For The Science Fair Board
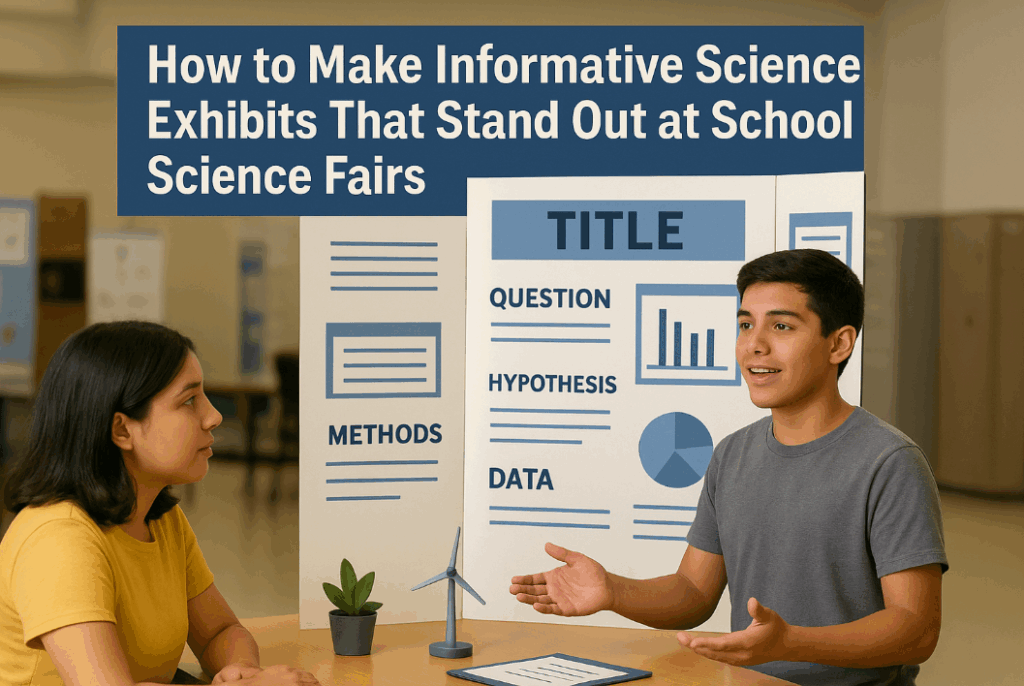
Your board should guide the eye left to right and top to bottom. Use clear section headings and a central flow: title, question, hypothesis, methods, data, results, and conclusion. Simple visuals, charts, photos, and one model beat walls of text.
Practical layout tips:
- Title: Large and short. Add the student’s name and grade below the title.
- Left panel: Question, hypothesis, and background.
- Center panel: Materials, procedure, photos, and data visuals.
- Right panel: Results, conclusion, and what’s next.
Suggested board section sizes (visual guide)
| Section | Approx. space on board |
| Title and names | Top 10% |
| Question & hypothesis | Left 20% |
| Methods & photos | Center 40% |
| Data & charts | Center-bottom 20% |
| Results & conclusion | Right 20% |
Make Your Visuals Do The Explaining
A good chart or photo can replace a paragraph. Use bar graphs, line graphs, or simple tables. Label every axis and keep fonts large enough to read from a meter away. Photos that show the experiment steps help judges see what you actually did. Avoid decorative clip art that distracts from the science.
Tips for charts and photos:
- Use color sparingly to group related data.
- Use captions under photos: what, when, and why.
- Keep numeric tables simple; highlight the important row or column.
Present The Science, Not The Script
Practice a 60–90 second explanation that anyone can understand. Start with the question, tell what you did, show one or two important results, and state the main conclusion and its meaning. Then be ready for deeper questions. Judges favor students who actually understand the work over those with complicated displays but weak answers.
60-second speaking structure:
- One-sentence question and why it matters
- One-sentence summary of the procedure
- One-sentence highlight of the result
- One-sentence take-home message
Use Your Table Space Smartly
If you have materials or a small demo, put it on the table in front of the board. Keep materials labeled and organized. If your demo runs on batteries or requires a power source, rehearse setup and safety. Keep free handouts or one-page summaries for visitors who want to take the idea home.
What To Place On The Table
| Item | Purpose |
| Experiment model or demo | Visual, hands-on explanation |
| Notebook or lab log | Proof of work and dates |
| One-page summary | Quick takeaway for visitors |
| Backup supplies | Tape, scissors, marker |
Keep Language Simple And Honest
Write labels and captions in everyday language. Avoid jargon. If you must use a technical word, add a short explanation. Simple language helps both younger visitors and busy judges understand the importance and method of your work.
Make The Project Educational For Others
Think about what your exhibit teaches a visitor. Can someone walk away knowing one new fact or one new skill? Add a “Why this matters” box that links the experiment to real life. This increases the educational value and makes the exhibit more memorable.
Safety And Ethics Matter
List any risks and how you managed them. If you used human subjects, animals, or hazardous chemicals, follow the fair rules and include signed permission forms. Clear safety notes reassure judges and show responsibility.
Manage Time And Scope
Begin early and set mini deadlines for research, experiments, and display design. Teachers and organizers often advise breaking the project into weekly tasks so students don’t rush at the end. Dr. Kishore’s Ratnam Schools recommend good planning and practice for successful school science events.
How To Score High In Judging Categories
Judges typically look for scientific thought, clarity, thoroughness, and presentation. Focus equally on doing solid experiments and explaining them clearly. Sometimes a simple, well-explained project beats a complex one with weak presentation.
Short judging prep list:
- Know your variables and controls
- Explain errors and how you would improve the experiment
- Point to the strongest evidence on the board
Quick creative ideas that teach
- Compare two water filtration methods and show before/after turbidity charts.
- Test plant growth under different colored lights and show growth photos.
- Build a small wind turbine model and chart voltage vs. blade angle.
Where Science Exhibits Fit Into Broader Learning
Science exhibitions build curiosity, teamwork, and presentation skills. They are also a natural bridge to competitive academic programs. Schools that support hands-on science and Olympiad preparation often give students the structure and depth needed for both exhibitions and higher-level contests. Parents looking for challenge-focused schooling may search for the best Olympiads school to combine rigorous academics with practical science opportunities.
Final checklist before you set up
- The board is readable from 1 meter.
- The title and main result are obvious at a glance.
- Data visuals are labeled and accurate.
- The student can explain the whole project in 90 seconds.
- Safety and permission forms are ready.
Conclusion
Well-made science exhibits teach other students and show your understanding. When you combine a focused question, clear data, a clean layout for a science fair board, and a confident presentation, you create an exhibit that both educates and impresses.
For schools that want to make exhibitions a regular part of learning and to help students move toward competitive programs, pairing exhibition work with structured academic support is a strong path forward.
If you’d like to see how a school can build these opportunities into its curriculum, learn how Dr. Kishore’s Ratnam Schools integrates exhibitions, critical thinking, and Olympiad-style challenges to support student growth.